Native Ad Format
Native ads provide individual ad components that you implement directly in your app’s layout, unlike other formats where the SDK provides the complete ad view. Advantages: Customize the layout to match your UI/UX and minimize visual disruption. Requirements: Include an ad indicator and maintain visual differentiation to prevent users from confusing ads with content.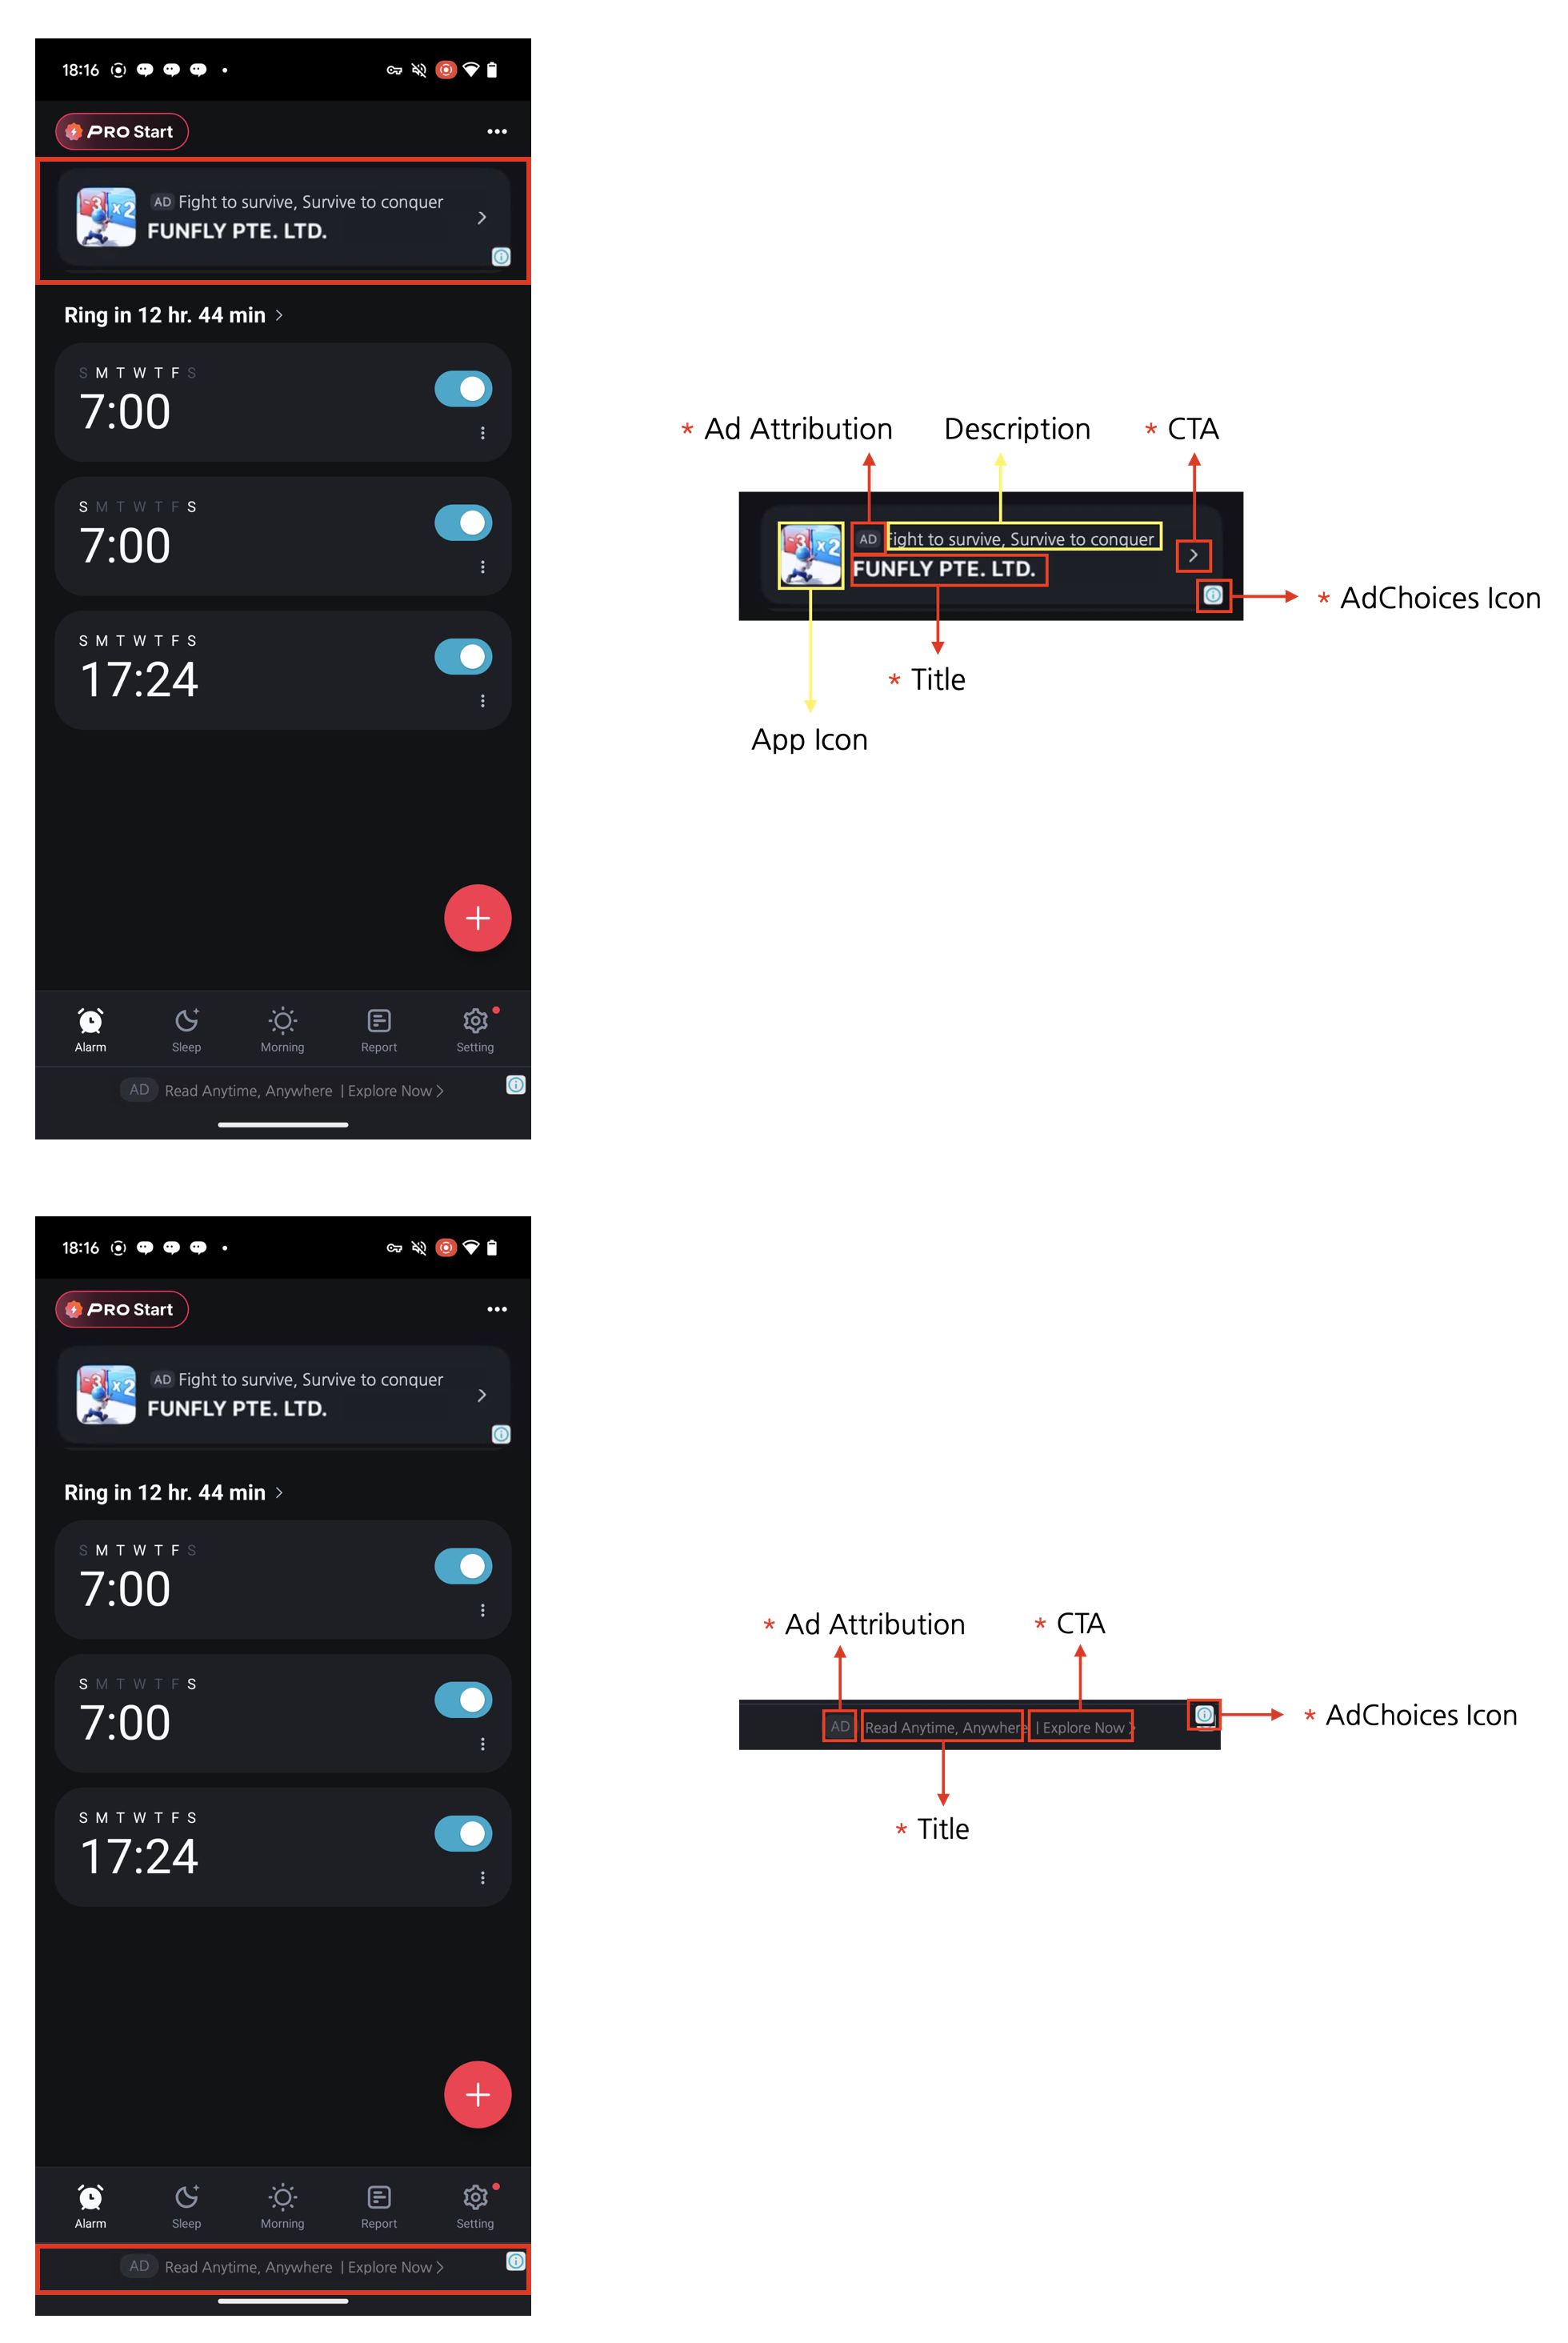
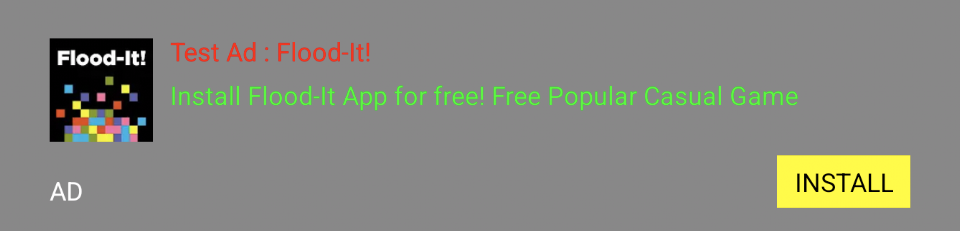
Four Required Elements for Native AdsNative ads can be designed to complement the content and look of your app. However, the following four required elements must be included. These elements are necessary to clearly mark native ads as advertisements so that users don’t mistake them for content, and to ensure the minimum advertising effectiveness expected by advertisers.
- Ad attribution: You must clearly display ad attribution text such as “Ad”, “Advertisement”, or “Sponsored” (localized appropriately) in the ad area so users can clearly identify the content as advertising.
- AdChoices icon: The AdChoices overlay icon enables users to identify and control ads, typically displayed as an ’ⓘ’ icon. This icon is automatically added by the DARO SDK, so no separate implementation is required. It is placed in one of the four corners of the ad view (top-left, top-right, bottom-right, bottom-left), with bottom-right as the default. When using Manual Implementation(XML), you can pick the corner via
DaroNativeAdBinder.Builder.setAdChoicePlacement()(see the AdChoices placement section below). Please lay out your ad view so the selected corner is not overlapped or obscured by other UI elements. The icon’s appearance and behavior may vary depending on the ad source (demand). - Title: The ad title must be displayed.
- CTA (Call to action): A CTA button with text such as “Install”, “Open”, or “Download” must be included. The size and format of the button can be freely configured, and it can be replaced with a text field depending on the situation. Since the ad source (demand) provides the CTA text, there is no need to specify fixed wording.
Integrating Ads
Initialize the SDK as described in Get started. ReplaceYOUR_AD_UNIT_ID in the examples with the dashboard Ad Unit Key for this format.
- Xml
- Compose
1
Create adBinder
- Create an adBinder needed to render native ads.
- Manual implementation(xml)
- Use Template
Show Example
Show Example
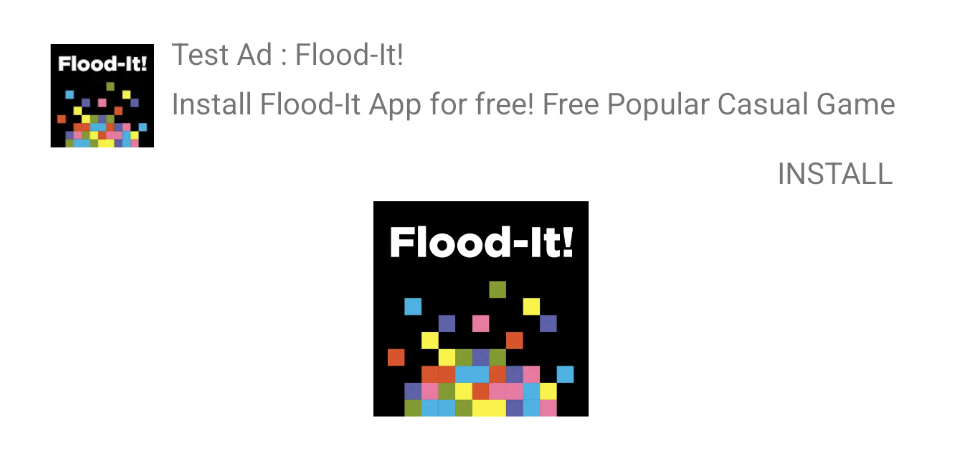
layout_native.xml
R to reference the layout_native.xml and view IDs added to your app.MainActivity.kt
2
Create adUnit
3
Create adView and add to view
4
Set adBinder on adView
5
Set listener
6
Load ad
AdChoices placement
- Use
DaroNativeAdBinder.Builder.setAdChoicePlacement()to control where the AdChoices icon is rendered. - If unset, it defaults to the bottom-right corner (
BOTTOM_RIGHT). - Supported values:
TOP_LEFT,TOP_RIGHT,BOTTOM_LEFT,BOTTOM_RIGHT.
The actual icon position may vary by ad. Leave enough space around all four corners so other UI elements do not obscure the ad indicator.
Template
- The DARO SDK provides the following templates.
Show Line
Show Line

Show LineCenter
Show LineCenter

Show Banner
Show Banner
Display the advertiser name
To display the advertiser name, add aTextView to your custom native ad layout and bind it with .setAdvertiserViewId(R.id.view_advertiser) on DaroNativeAdBinder.Builder. Replace R.id.view_advertiser with the view ID declared in your app layout. The SDK hides this view when the ad does not provide an advertiser name. Adding this view is optional for existing integrations.
Adapt the UI to received assets
- Override
onNativeAdAssetLoadedinDaroAdLoadListenerto handle missing assets.
- Do not hide the AD label or AdChoices based on this asset list.